Introduction
OpenID Connect (OIDC) is a battle-tested and modern solution for handling user authentication. Greymatter makes integrating it into any tenant deployment straightforward with the GSL #OIDCPipelineFilter filter definition. The filter redirects unauthenticated users to an OIDC provider’s login page and handles token exchange and refresh afterwards.
This guide will show you how to enable this filter on a tenant edge and configure it properly. By the end of this guide, you will have a fully guarded edge with OIDC.
Although this guide specifically references enabling OIDC on an application edge node, the process and configuration for any tenant service proxy remains the same.
Prerequisites
- A deployed tenant edge
- A deployed Keycloak instance
You need a few items from Keycloak:
- A realm
- A client ID for the edge
- The client secret for the client ID
Finally, you need to add a URL pointing to your edge into the ‘Valid Redirect URIs’ list for the client. It must conform to this format: https://{EXTERNAL_IP_OR_DNS_HOSTNAME}:{PORT}/oauth.
If you have access to the Keycloak instance, please refer to the mesh admin version under the ‘Operator’ tab to set and collect the appropriate values. Otherwise, contact your Keycloak administrator.
1. Add the OIDC Pipeline Filter
Open the GSL configuration file for your project’s edge. Select the listener that should execute the OIDC flow. Inside the listener’s filter array (add one if its not already present), insert the gsl.#OIDCPipelineFilter definition like this:
"myListener": {
    ...
    filters: [
        gsl.#OIDCPipelineFilter
    ]
}
2. Configure the OIDC Pipeline Filter
The OIDC pipeline filter requires a few configuration values to function. Since it is a filter, GSL expects configuration to get passed into the #options property. Use the & operator like this:
...
gsl.#OIDCPipelineFilter & {
    #options: {
     // Values go inside this block
    }
}
...
The basic set of values the filter needs to work are:
provider_host- the URL of the OIDC provider (includes the protocol, domain, and port components)clientId- the id of the client registered by the OIDC provider (this is not the user’s id)clientSecret- the corresponding secret for the client name inputted above (this is not the user’s password)serviceURL- the URL that the user gets redirected to after successfully authenticating (matches the Valid Redirect URI in Keycloak and should )realm- name of the OIDC realm
Additionally you have the choice to perform remote or local verification on the returned JSON Web Tokens (JWT) using JSON Web Key Sets (JWKS). That process is covered in the next sections.
Set the basic required values like this:
...
gsl.#OIDCPipelineFilter & {
    #options: {
        provider_host: "https://your.keycloak.provider.com"
        clientId:      "Your client id"
        clientSecret:  "Secret for the client specified by the above id"
        serviceUrl:    "https://url.for.redirect"
        realm:         "Your Realm"
    }
}
...
Remote JWKS (recommended)
Remote verification offloads the JWT verification keys to an separate service instead of storing those keys locally. Keycloak comes with this functionality so we will leverage it for this guide.
Step outside the listener scope into the #Edge (or #Service) scope. Add an upstream to raw_upstreams:
gsl.#Edge & {
    ...

    raw_upstreams: {
        "remote_jwks": {
            gsl.#Upstream
            gsl.#TLSUpstream // or use another TLS scheme
            instances: [
                {
                    host: "your.keycloak.provider.com"
                    port: 80
                }
            ]
        }
    }

    "myListener": {
        ...
    }

    ...
}
Finally, add the provider_cluster field to the OIDC pipeline filter options’ definition and set it to the name of the raw upstream. In this case, it is “remote_jwks”:
gsl.#OIDCPipelineFilter & {
    #options: {
        ...
        provider_cluster: "remote_jwks"
    }
}
Local JWKS
Local verification with JWKS is the opposite of remote verification. The filter stores verification keys locally. Local verification eliminates a network hop, but means that the keys could expire, potentially disrupting network accessibility.
In Keycloak, you can manually fetch the keys using this URL:
https://KEYCLOAK_HOST:KEYCLOAK_PORT/realms/YOUR_REALM/protocol/openid-connect/certs
Copy and paste those values inside the OIDC Pipeline filter options’ definition:
    #options: {
        ...
        jwt: {
            local_jwks: {
                inline_string: "## PASTE CONTENTS HERE ##"
            }
        }
    }
}
3. Apply the Configuration Changes
Run greymatter sync --dry-run to ensure your updated configuration is valid.
If that succeeds, commit and push your changes to the remote GitOps repository.
4. Verify the Configurations
Now, attempt to load a URL behind the newly guarded edge proxy. You should immediately get redirected to the Keycloak login page.
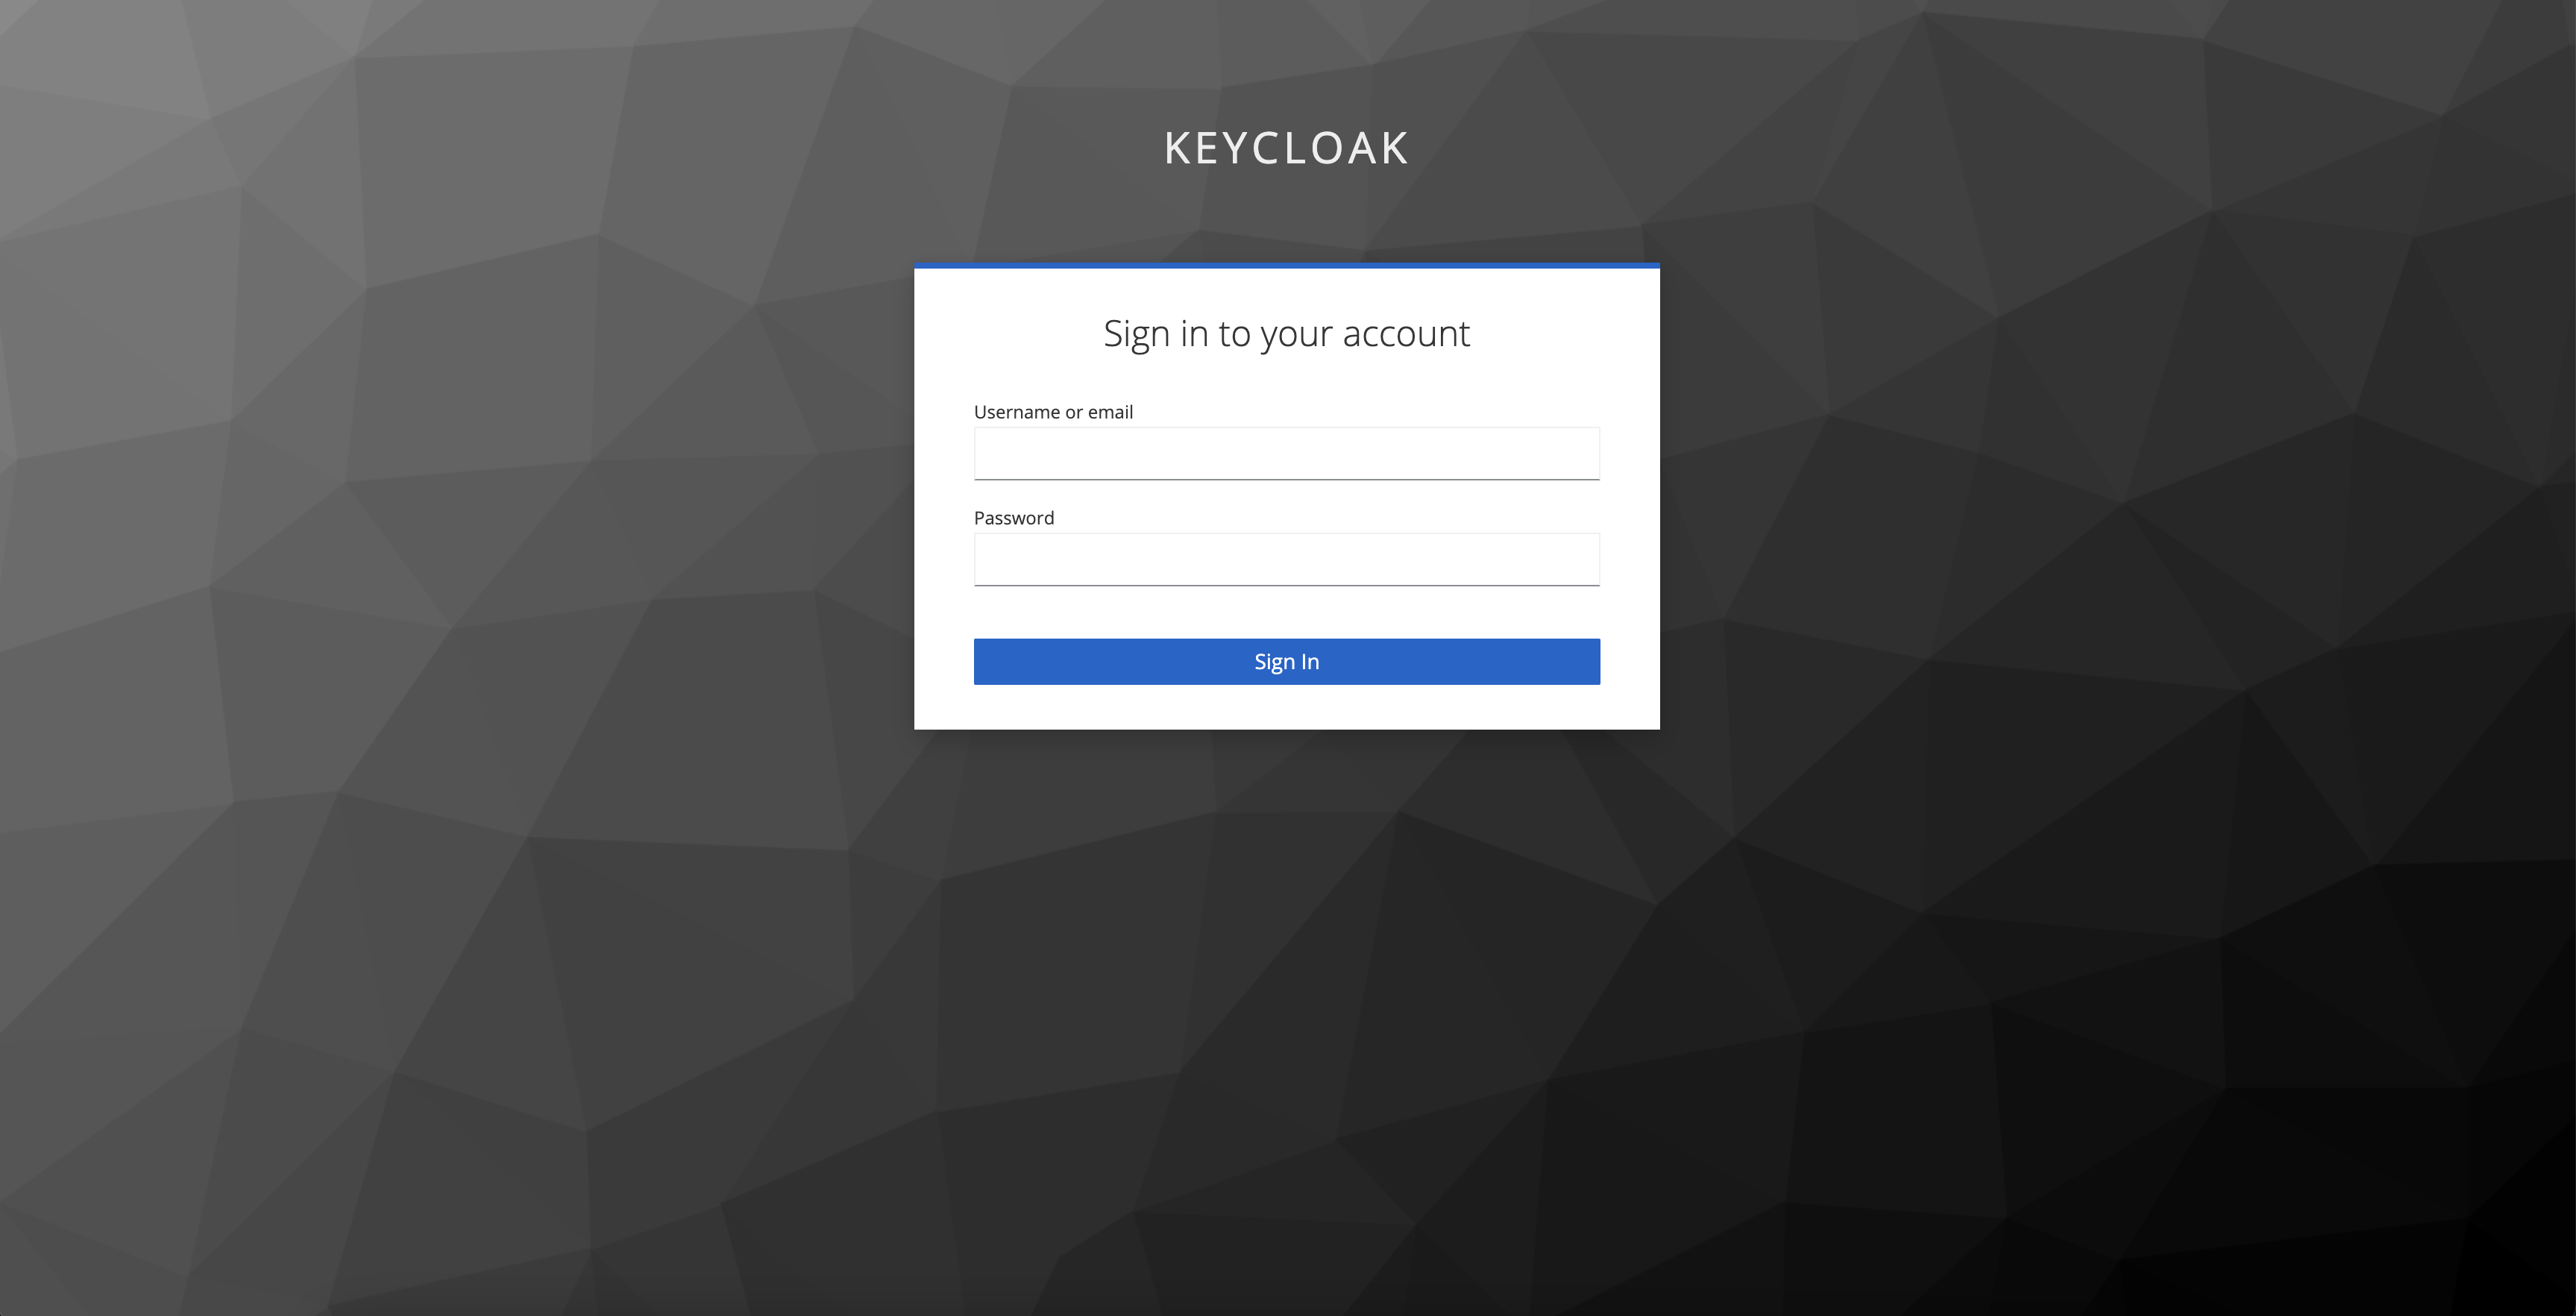
Submit your login credentials. If the credentials are correct, then Keycloak should redirect you back to your original destination.
Conclusion
Congratulations, you have successfully guarded your tenant edge with OIDC authentication using the GSL #OIDCPipelineFilter. You can rest assured that users accessing applications within the tenant project are all authenticated.
Next Steps
To learn about additional OIDC options, please refer to the ‘GSL’ section of the filter reference page.
Introduction
Because of its control over critical mesh infrastructure, preventing unauthorized access to the core greymatter services is a priority for any administrator. An excellent solution is to guard the ingress edge with the robust and modern OpenID Connect (OIDC) user authentication flow. Greymatter makes this integration straightforward through the Operator CUE’s _enable_oidc_authentication toggle.
This guide will walk you through configuring an OIDC provider, Keycloak, to integrate with greymatter, toggling and configuring the greymatter OIDC filter, and also the JWT authentication filter. By the end of the guide you should have a fully guarded core edge with OIDC
Prerequisites
- greymatter version
1.8.0 - a deployed Keycloak instance
Using the greymatter operator with GitOps makes it simple to add an OIDC provider to your edge gateway. This guide will use Keycloak as the OIDC provider.
1. Configure Keycloak
In Keycloak, you will need to set up a realm and client (if you haven’t already done so) and ensure the client is using the OIDC protocol. Specifically, you must give Keycloak a URL that redirects back to your edge node.
- Log in to Keycloak
- Select the menu item named ‘Clients’
- From the list of client IDs, select the ID you want to associate with this edge node.
- Add a URL of the form
https://{EXTERNAL_IP_OR_DNS_HOSTNAME}:{PORT}/oauthto the list of Valid Redirect URIs. Upon successful authentication, users will be redirected back to this address with tokens that the edge node’s OIDC filter can parse.
2. Enable OIDC Filters
In <your-org>/greymatter-core repository, open gm/outputs/edge.cue and set _enable_oidc_authentication to true.
This will enable a few filters on your edge proxy’s ingress listener:
- OIDC Authentication - the primary filter that will connect to your OIDC provider and handle the authentication flow
- Ensure Variables - passes headers from OIDC Authentication filter to Envoy JWT Authentication filter
- Envoy JWT Authentication JSON Web Token (JWT) verification filter for JWT token validation and use of token claims to retrieve user identification and access policies
3. Configure OIDC Authentication
Set values in inputs.cue in <your-org>/greymatter-core repository. This will configure the OIDC Authentication filter. Locate the oidc configuration block and set the following values:
endpoint_host- the IP or hostname of your Keycloak serverendpoint_port- the port of your Keycloak server. Keep the default value.domain- the external IP or hostname of your meshclient_id- the ID of your client in Keycloakclient_secret- the secret from your client in Keycloak (credentials tab).realm- the name of your realm in Keycloak
Note the client_secret is a kubernetes secret mixin that will require the creation of a secret named oidc-client-secret in the greymatter namespace. Ex:
kubectl create secret generic oidc-client-secret \
    --from-literal=client-secret=topsecret \
    -n greymatter
In addition, you may also need to set _keycloak_pre_17 field to true if using a Keycloak version less than version 17.
To configure TLS options between the filter and Keycloak, for instance, in the case of mTLS or to trust a set of privately minted certs, set a combination of these values:
certPath- Path to the server’s certificate (mTLS)keyPath- Path to the server’s private key (mTLS)caPath- Path to the server’s bundled intermediate and root CA certificatesinsecureSkipVerify- Boolean determining whether to skip certificate verification
4. Configure Envoy JWT Authentication
In the jwt_authn_provider block in inputs.cue set the following values:
audiences- the name of your client in Keycloak
Determine how you want to verify JWTs issued from Keycloak. JSON Web Key Set (JWKS) is a set of keys containing the public keys used to verify these JWTs. Greymatter provides two types of configurations, local and remote JWKS verification.
Local JWKS Verification
Local JWKS Verification allows you to statically configure the key used to verify the JWTs. To do this, you can navigate to https://KEYCLOAK_HOST:KEYCLOAK_PORT/realms/YOUR_REALM/protocol/openid-connect/certs. Then paste the keys directly into the inline_string field in inputs.cue.
The benefit of this approach is that an additional network call does not need to be made to Keycloak to verify JWTs. The drawback is that, if the keys change in Keycloak, you must also update it in inputs.cue. Without doing so will cause authentication errors for your users.
Remote JWKS Verification
Remote JWKS Verification solves the drawbacks of Local JWKS Verification with only the added latency of an additional network call to Keycloak to verify JWTs. Latency will vary depending on your infrastructure set up but it generally goes unnoticed to your users.
To enable Remote JWKS Verification, comment out local_jwks in inputs.cue and the remote_jwks block.
When using remote JWKS, you will also need to add cluster, route, domain, and listener objects to your edge proxy to allow the OIDC authentication filter to validate the JWT, along with a few more changes to ensure that greymatter can discover the new cluster. To do so, uncomment the line at the top of <your-org>/greymatter-core/gm/outputs/edge.cue, along with the commented out objects. You will also need to modify the proxy object to look like the following:
#proxy & {
  proxy_key: defaults.edge.key
  domain_keys: [defaults.edge.key, EgressToRedisName, EdgeToKeycloakName]
  listener_keys: [defaults.edge.key, EgressToRedisName, EdgeToKeycloakName]
},
5. Apply the Configuration Changes.
Now that all configurations are in place, commit and push your changes to your greymatter core repository.
6. Verify the Configurations
Navigate to the greymatter dashboard through your core edge node. Keycloak will redirect you to the login page.
If all the configuration is correct, after submitting your credentials, Keycloak will forward your request back to the edge proxy and on to the dashboard.
Conclusion
Congratulations, you have successfully guarded your edge proxy with OIDC authentication using the Operator’s filter toggles. You can rest assured that users accessing greymatter core services are all authenticated.
Next Steps
To learn about more advanced OIDC options, please read the ‘Operator’ section of the OIDC filter reference page.